Is your Windows PC or laptop overheating? If so, you must immediately address the underlying cause and bring the computer’s temperature under control.
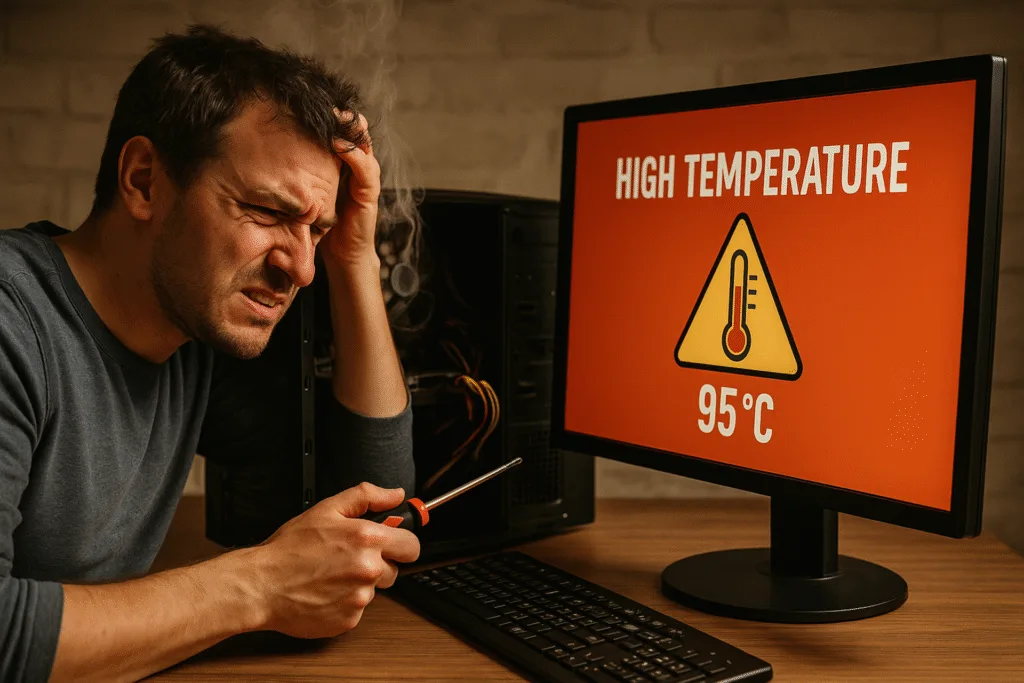
Wondering what the normal CPU temperature is? It’s 30°C-45°C (86°F-113°F) under an idle state, and 45°C-80°C (86°F-176°F) under extensive load. Anything above 80°C (176°F) is a sign that one of the system components is malfunctioning.
Remember, when your PC begins to overheat, initially, it only slows down, but if the problem remains unabated, you run the risk of permanent hardware damage!
What can cause a PC to overheat?
- Incorrect placement, say, under direct sunlight or in a poorly ventilated environment
- Dust accumulation restricting the optimal flow of air
- Malfunctioning CPU, GPU, or battery
- Misconfigured overclocking beyond the safe limits
- High resource consumption, say, the CPU or RAM is under heavy load
- Malware infection
What are the early signs of overheating?
- Performance slows down significantly
- The CPU fan starts running at full throttle and makes noise
- Visible increase in the body temperature of the PC
- Active processes/programs start to crash
- Visuals and animations are rendered slower than usual
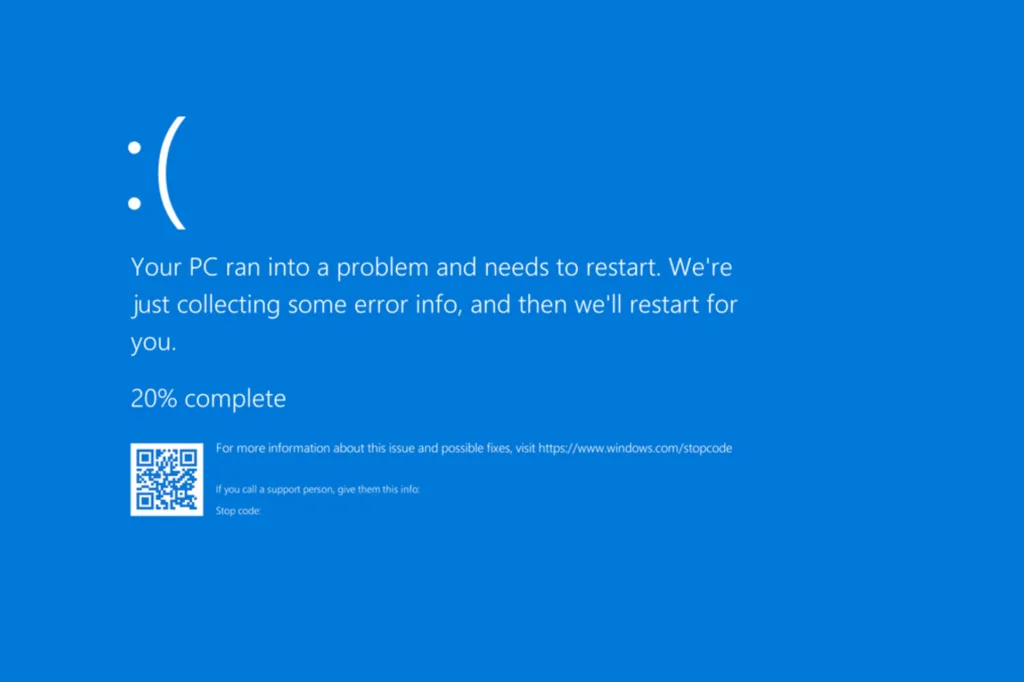
- You get a BSOD (Blue Screen of Death) in Windows
- You get a CPU overheating warning

What can I do if my Windows PC is overheating?
1. Relocate the PC or change its position
Believe it or not, mostly it’s the computer’s position or orientation to blame for overheating. For instance, if you using a laptop and have placed it directly on a flat surface that covers its air vents, the system will begin to overheat. Similarly, for a PC, the temperature rises when the CPU is incorrectly positioned, i.e., the CPU fan’s side is covered by an object or a wall.
Here’s the ideal position for a desktop and laptop to improve air flow and prevent overheating:
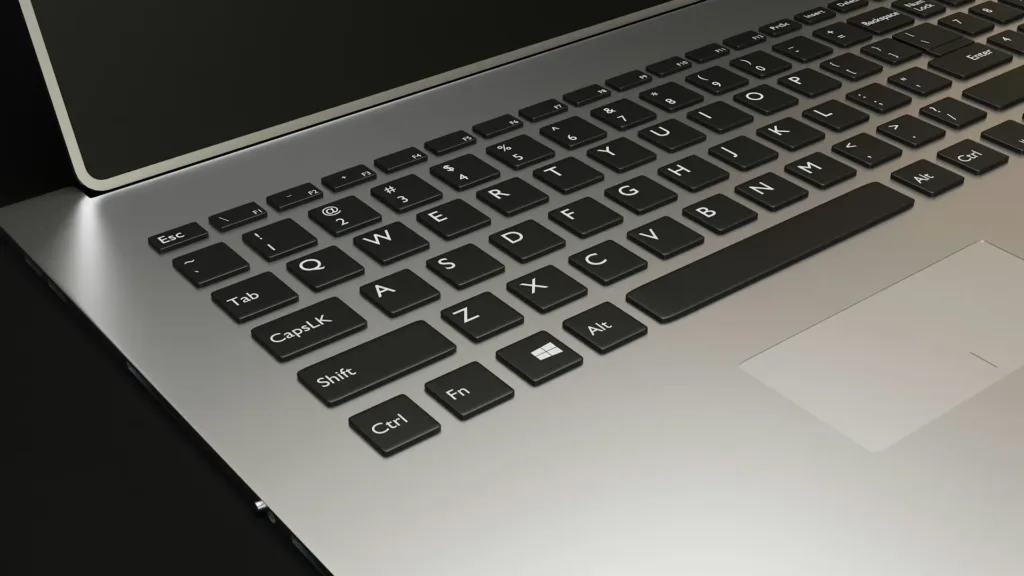
- Laptop: Since the air vents in a laptop are usually at the bottom, place your laptop slightly above the surface using a book or any other similar object. This ensures optimal heat dissipation.
- Desktop: Don’t place the CPU in an enclosed space, say inside a cabinet. It should be in a well-ventilated environment, with nothing covering it from either side. Also, make sure the side with the CPU fan has enough free space, ideally, 30-50 cm for unhindered heat dissipation.
Besides, if you are using the computer under direct sunlight or near a heat source, move to a cooler area immediately.
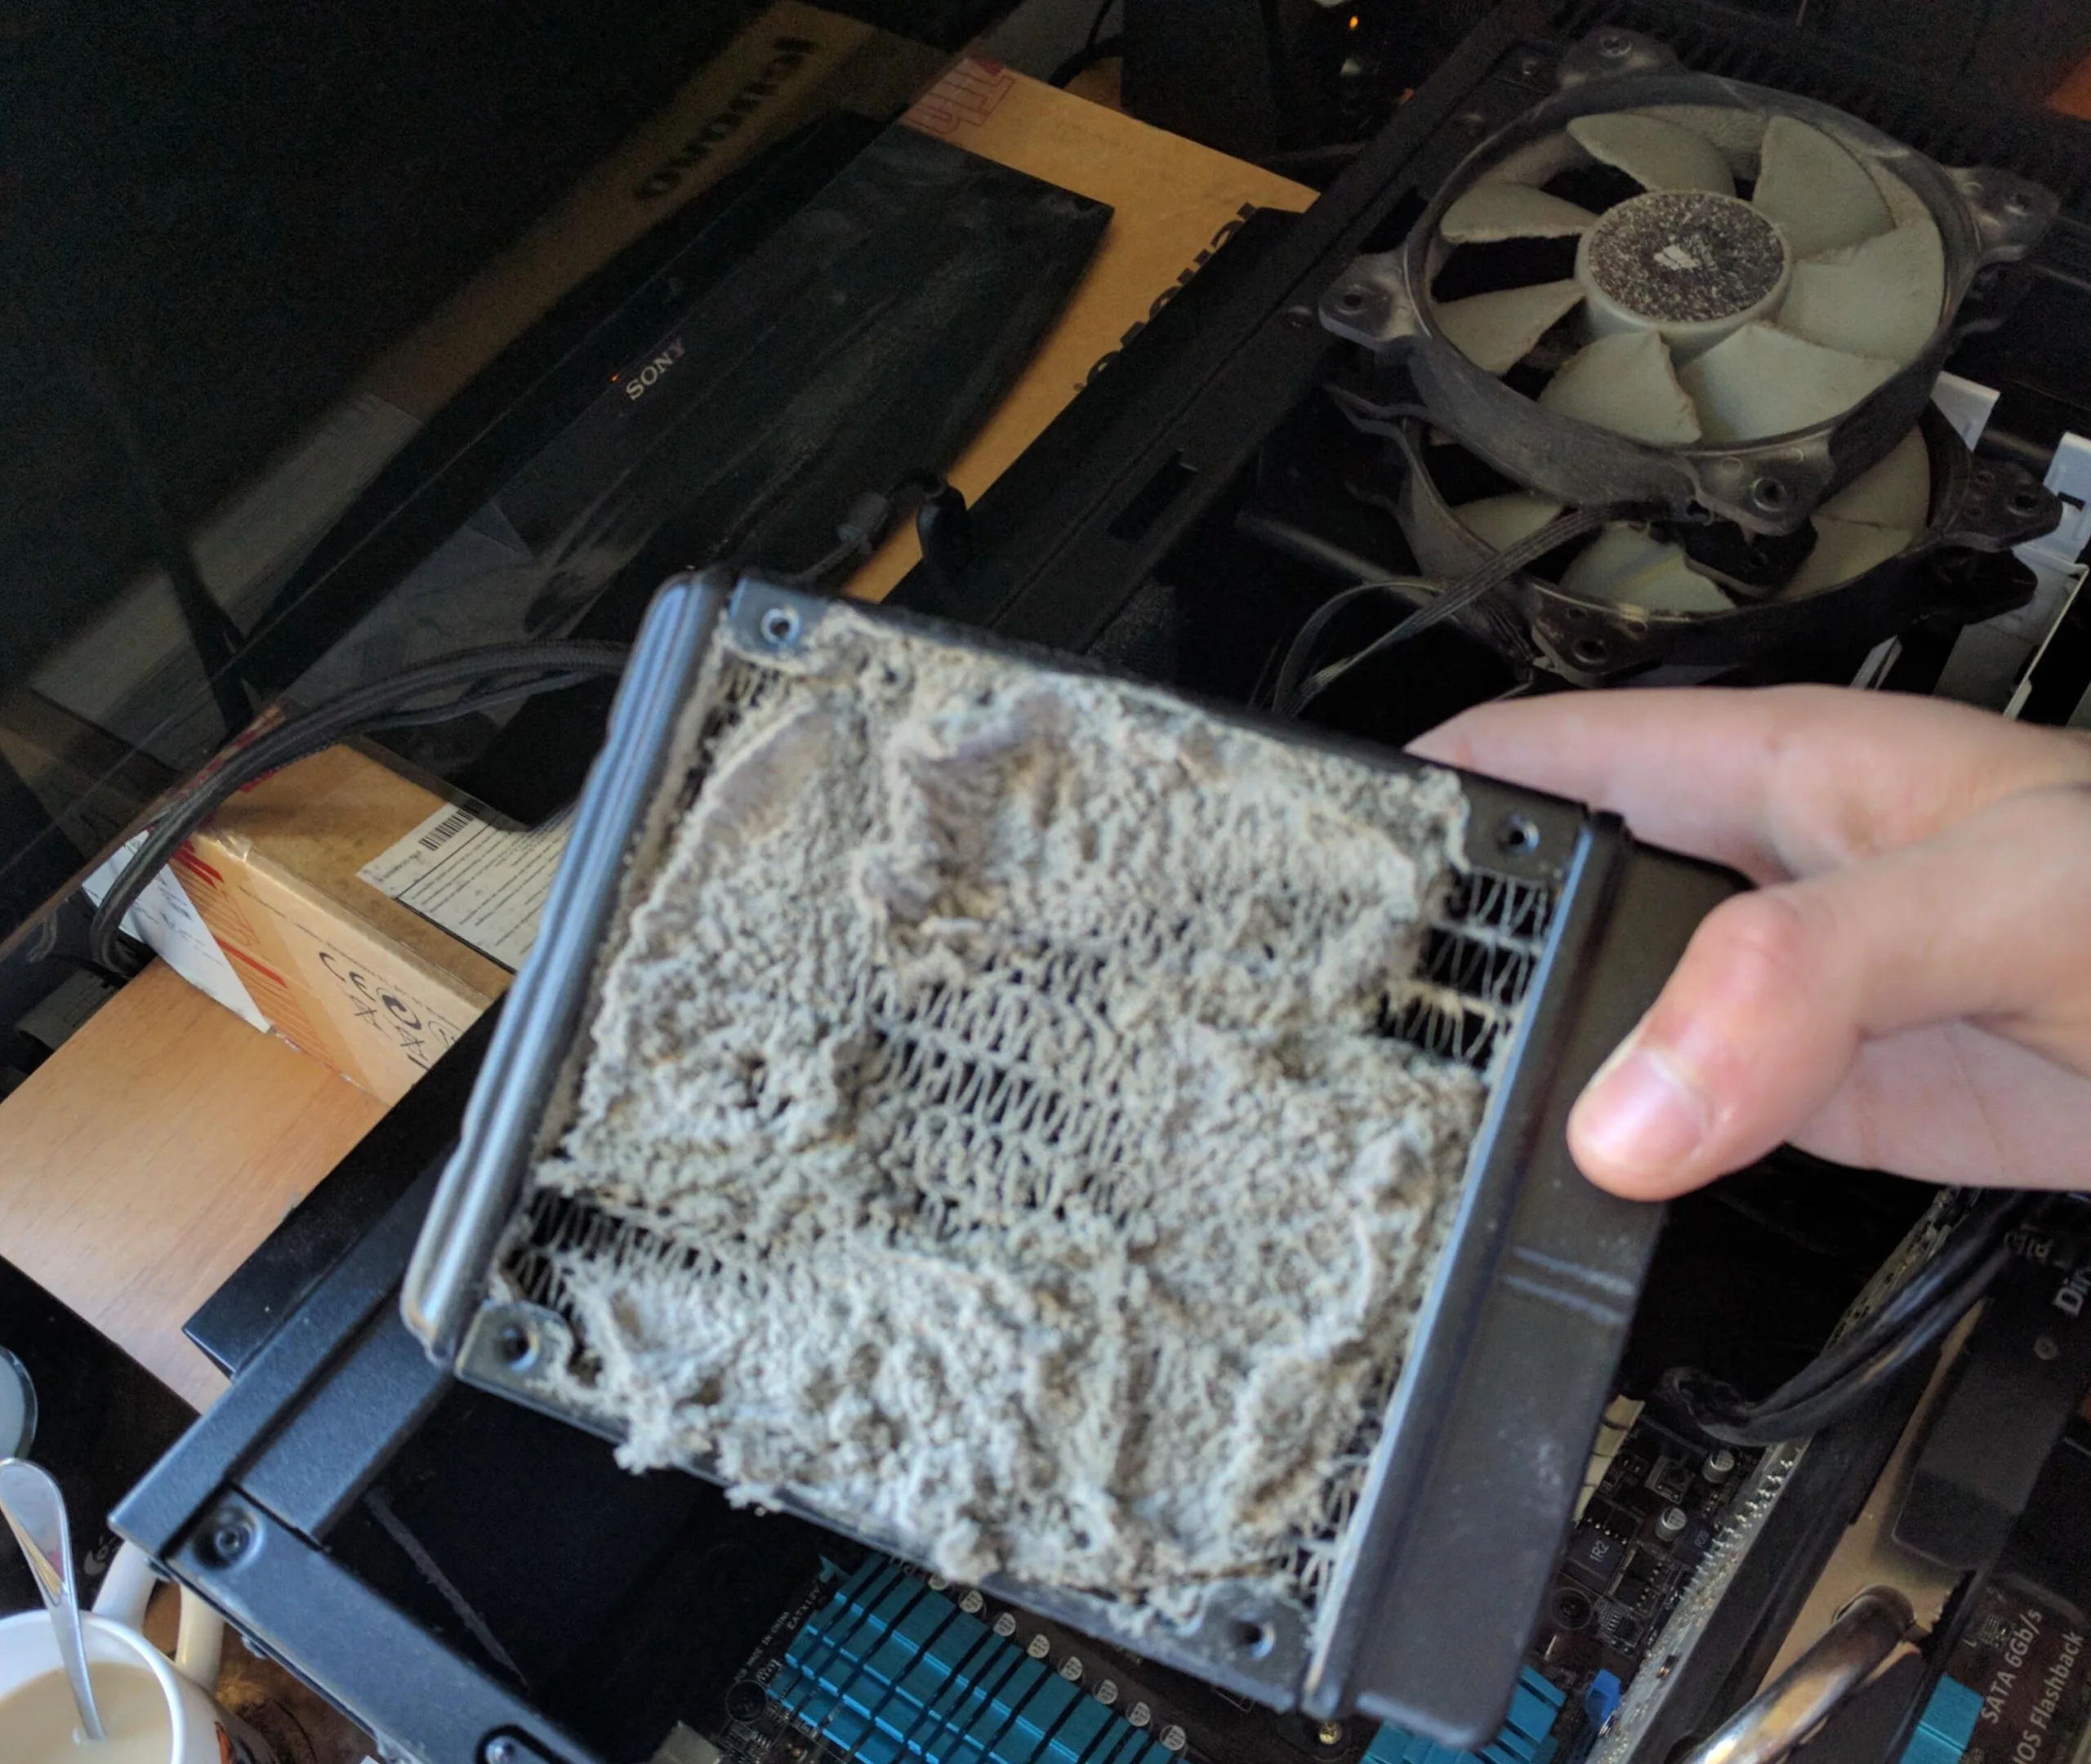
2. Clear dust buildup and replace the thermal paste
Dust accumulation is the second most common reason behind an overheating Windows PC, both desktops and laptops. Although the effects are more pronounced on the latter, given that hardware components are closely packed. To remove dust accumulation, you will need a can of compressed air, a brush, and a clean piece of cloth. Here’s what you need to do:
- Laptop: If the laptop has a removable back cover, detach it and use a can of compressed air to clear any dust accumulation in and near the exhaust vent. If dust remains, wipe the source with a piece of cloth or use a soft brush to dislodge solid dust particles.
- Desktop: As was the case with a laptop, you need to remove the side panel of the CPU and clean the CPU fan and the area around it with a can of compressed air. For the residual dust accumulation, a soft brush and a piece of cloth will help.
While using the can of compressed air to clear dust buildup, make sure to hold it at least 3 inches away from the hardware. Besides, never use any hard chemicals, like bleach, to clean the hardware, no matter the extent of dust accumulation.
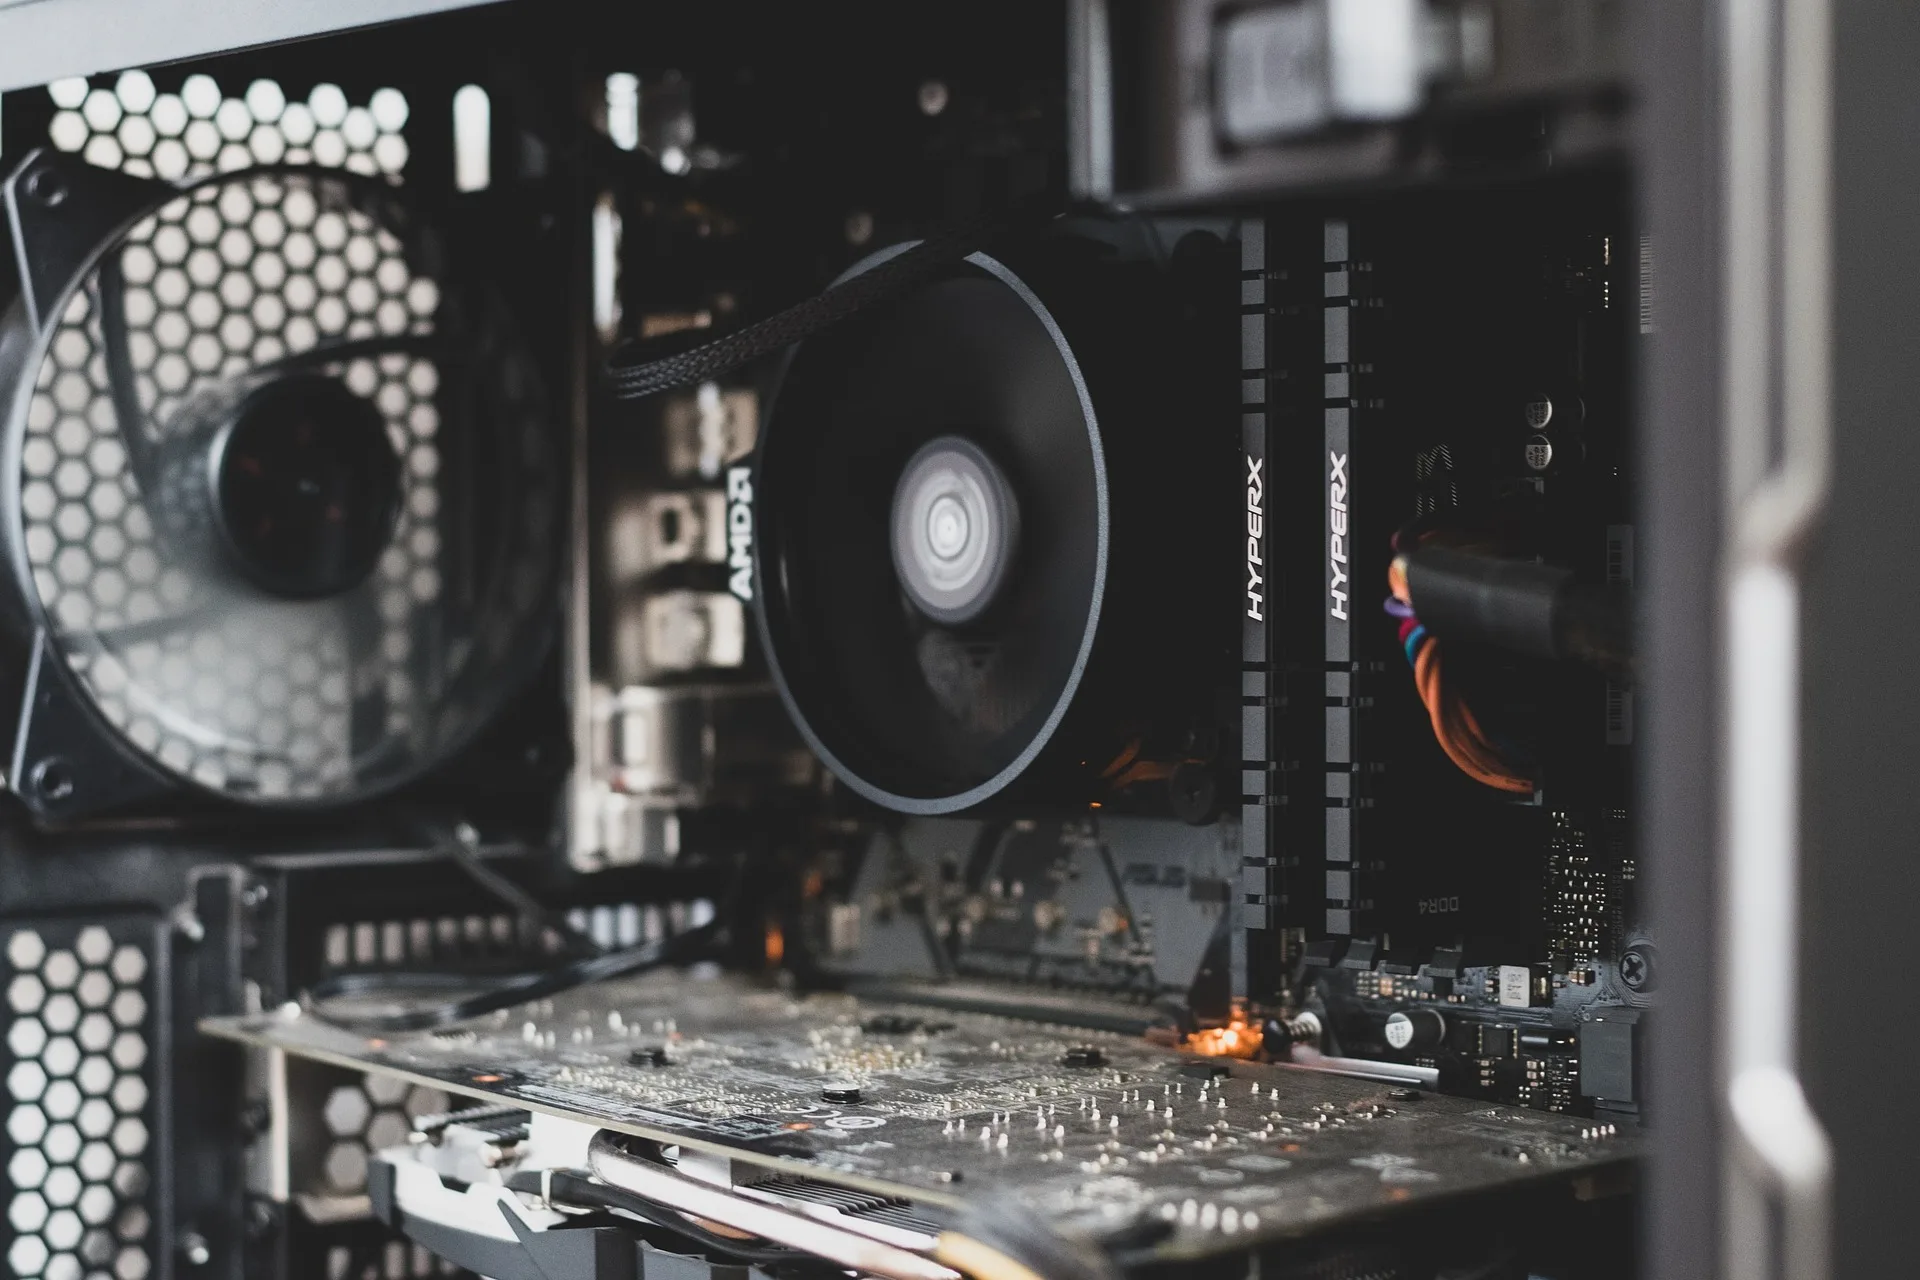
3. Identify the overheating component and fix it
If it’s not the dust buildup to blame for overheating on a Windows PC, there might be a faulty component generating significant heat. Under normal circumstances, the PC fan is more than capable of dissipating this heat, but when it’s beyond the acceptable range, the system’s body will retain some heat, increasing the temperature.
So, check the body temperature of each hardware component and see if any feel warmer than usual. Here are the components you have to look at:
- CPU (Central Processing Unit)
- GPU (Graphics Processing Unit)
- PSU (Power Supply Unit) or batteries in laptops
- RAM (Random Access Memory)
- VRMs (Voltage Regulator Modules) on the motherboard
- Storage Drives (HDDs and SSDs, especially NVMe)
- Motherboard chipset
- Fans and heatsinks
If any seem warmer than usual, get the component inspected by a professional. I don’t recommend fiddling or unscrewing any if you are not well-versed with the hardware side of things. The only thing a regular user should attempt fixing is dust accumulation, and that, too, after checking the detailed process via online resources or the manufacturer’s website!
4. Scan the PC for malware
Not many realize it, but a malware infection can overload the PC, causing it to overheat. When your PC is infected, it may run countless background processes, leading to increased RAM and CPU consumption. For instance, the Cryptomining malware runs several background processes aimed at performing complex calculations to mine cryptocurrencies, all without the end user’s knowledge.
So, you must run a malware scan on the PC and take suitable action if any threats are detected. To do that:
- Press Windows + S to open Search, type Windows Security > click on the relevant result > choose Virus & threat protection > select Scan options > pick Full scan > click on Scan now > wait for the scan to complete.

In case Windows Security fails to find any malware, I recommend using a top-rated antivirus solution to run a comprehensive scan. These are more up-to-date with the latest threats and can help you find even the most complex viruses!
5. Update all the drivers
We don’t realize the importance of drivers until a problem comes up. This is especially true for overheating on a Windows computer, which is caused by faulty drivers in 3 out of 10 cases. And more often than not, it’s the graphics driver to blame, since this is the one responsible for most of the resource-intensive tasks, say gaming and video rendering. So, the next step to fix an overheating Windows PC is to update the drivers!
- To update the drivers, press Windows + X to open the Power User menu > select Device Manager > expand the Display adapters entry > right-click on the active graphics adapter > select Update driver > click on Search automatically for drivers.

If Windows can’t find a better driver version, head to the manufacturer’s website, locate the recent releases, and manually install the latest driver!
6. Terminate non-critical apps and prevent them from loading at startup
Next up, we will be terminating apps that are not critical to the effective functioning of Windows. This helps when there’s nothing wrong with the Windows PC, but the active processes are burdening its resources, i.e., the RAM, CPU, and Disk. Also, we will ensure that non-essential apps are not loaded at startup, since this increases the Windows boot time!
- To terminate non-critical apps, press Ctrl + Shift + Esc to open the Task Manager > select non-critical apps individually > click End task near the top right.
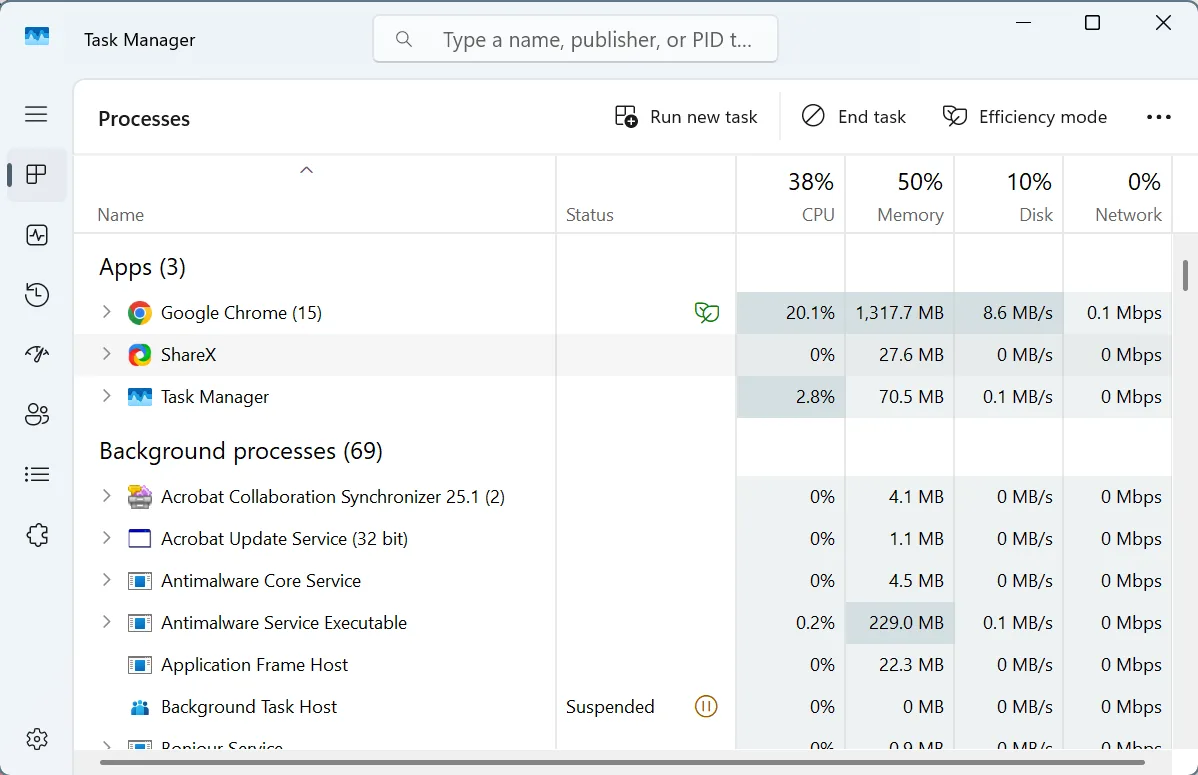
Start with the ones consuming the maximum resources. Remember, you shouldn’t kill critical Windows processes as it may cause instability. It’s best to stay away from any non-third-party app entry.
- To prevent non-essential apps from loading at startup, open the Task Manager > go to the Startup apps tab > individually select non-essential apps that read Enabled under the Status column > click Disable.
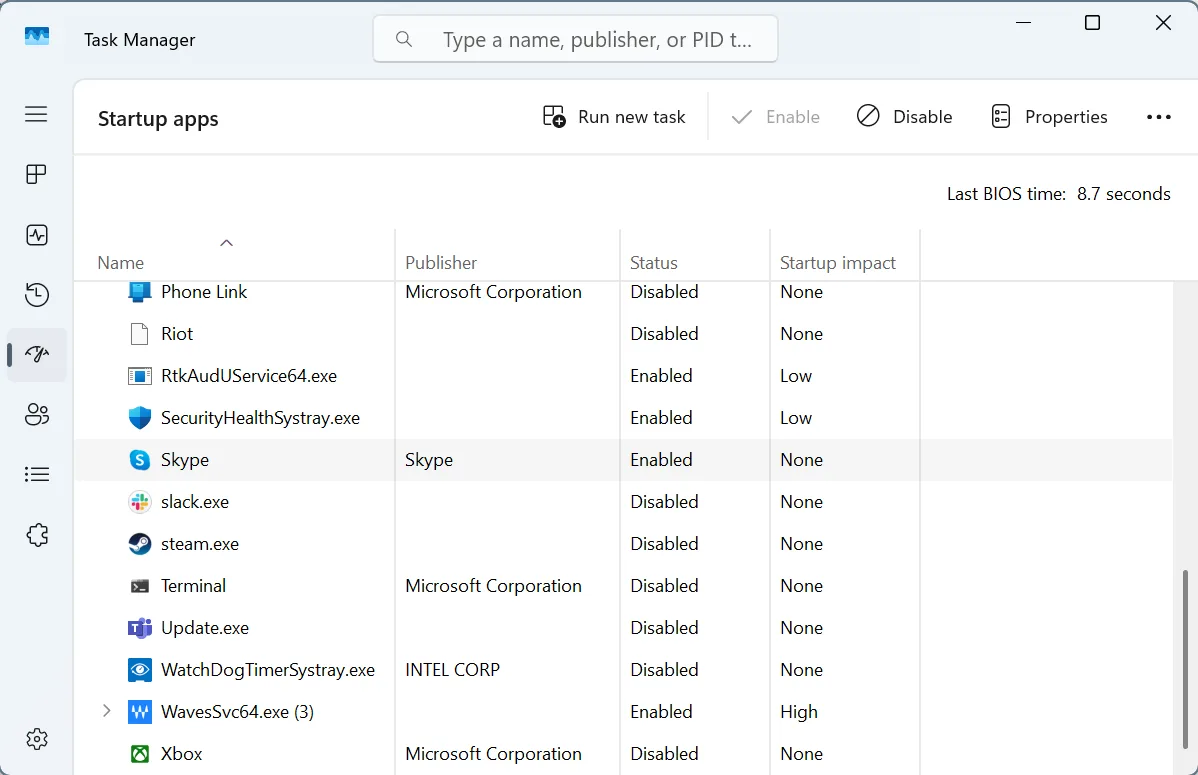
Again, don’t disable the critical startup apps and processes, such as those linked to the graphics or audio functionality. Only target apps that are third-party and non-essential!
7. Uninstall software and recent Windows updates
Do you have too many programs installed on the PC, apps that are no longer relevant? If so, that could be the reason your Windows PC is overheating! Installed apps run a wide array of background processes, consuming massive resources, in addition to the blocked storage space. So, you must uninstall apps that are irrelevant!
- To uninstall apps in Windows > press Windows + S to open Search > type Control Panel > click on the relevant result > click on Uninstall a program > select apps that are no longer useful from the list > click Uninstall > follow the on-screen instructions to complete the process.

If your Windows PC overheats even after removing the irrelevant apps, it could be a recent Windows update to blame. In the past, a few Windows updates were found to be buggy, conflicting with critical processes and third-party apps, which led to overheating. To fix this, you must uninstall the problematic Windows update!
- To uninstall a Windows update, press Windows + I to open Settings > go to Windows Update > click on Update history > scroll down and select Uninstall updates > click Uninstall next to the last downloaded update.
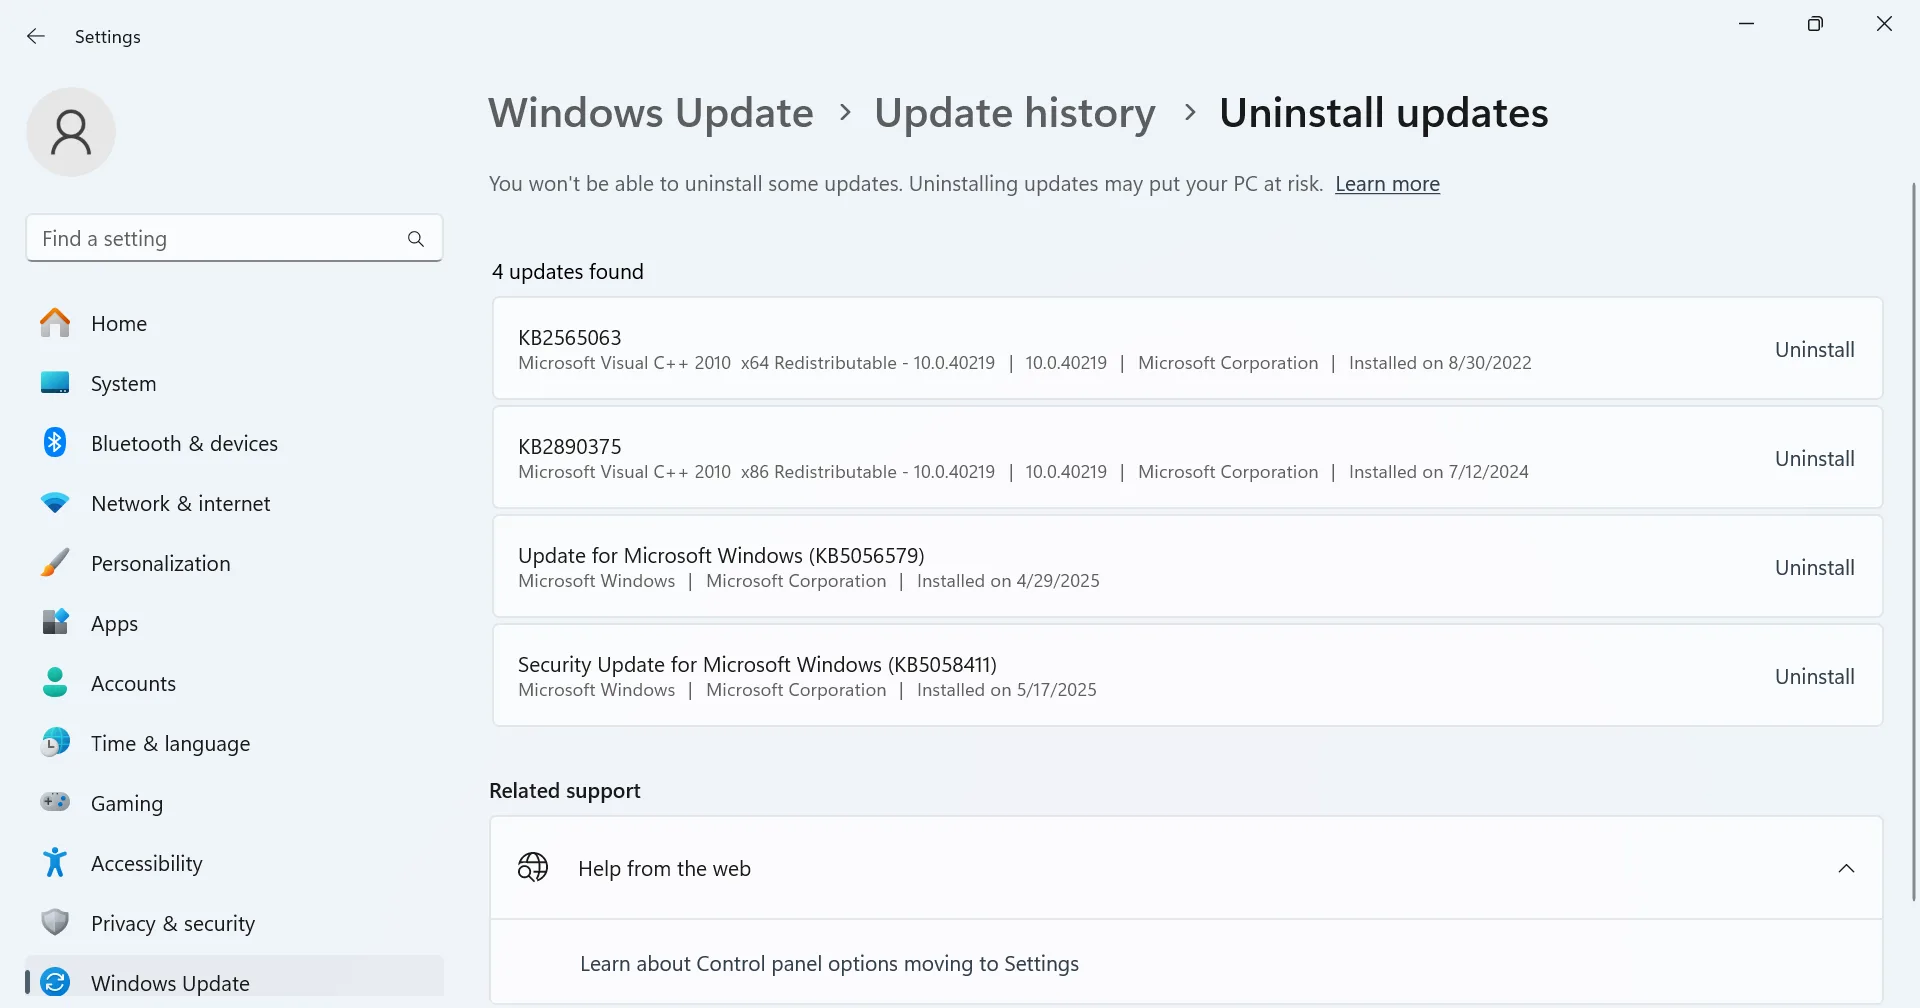
Start by uninstalling the last Windows update and then work your way down the list!
8. Disable all overclocking immediately
Do you use an overclocking software to get more performance from your PC? If so, that could be causing the system to overheat, especially when the components are overclocked beyond the safe limit. Even if you don’t recall configuring overclocking, the built-in PC optimization software could be automatically adjusting the hardware output for enhanced performance. These include AMD Ryzen Master, MSI Afterburner, and Intel XTU!
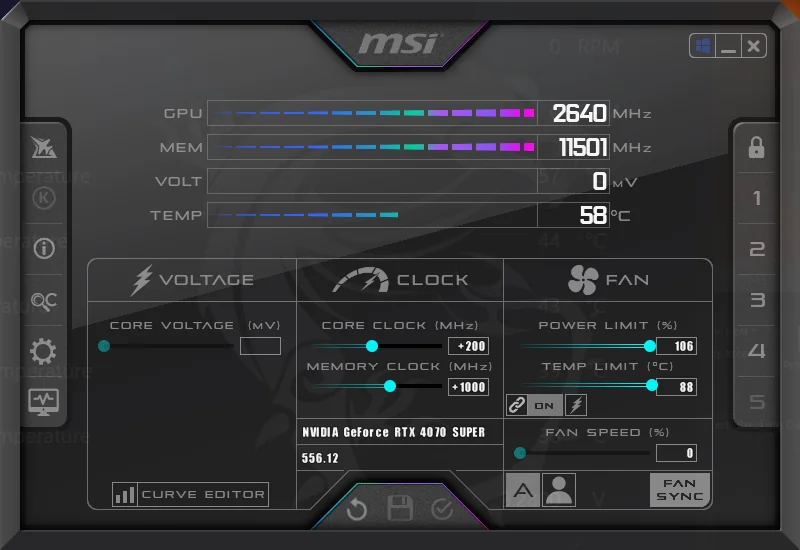
So, if you have any such utility installed, either reset the configuration to default or uninstall the software altogether. I always side with the latter. Most of you don’t need to overclock the PC. These settings are best handled by experts, and that too on PCs running resource-intensive tasks. For basic use, the default system performance is fine!
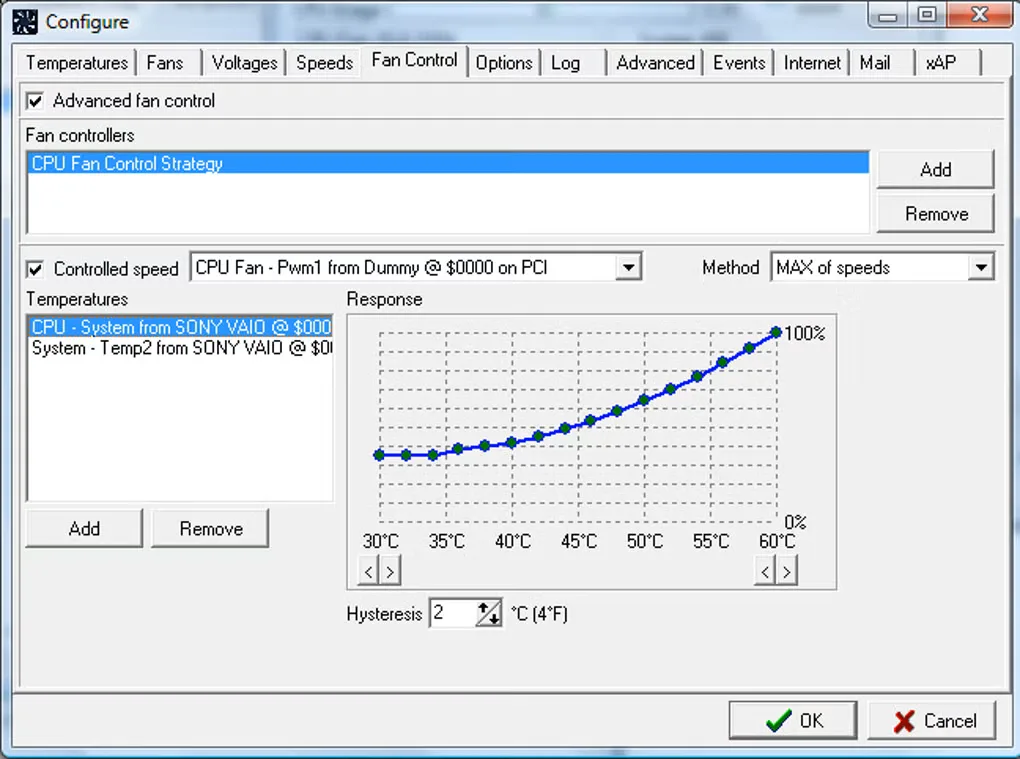
9. Manually control the fan speed or use a cooling pad
Another possibility behind overheating on a Windows PC is that the computer fan isn’t running at the optimal speed. When the temperature rises, the fan speed should ideally increase, and when that isn’t the case, much of the heat remains trapped, leading to overheating!
In this case, you could use a tool that helps manually adjust the fan speed according to the active resource consumption and PC temperature. SpeedFan is a popular choice in this segment, although you could go with another option as long as it performs the intended job well and doesn’t compromise the privacy and security of the system.
If you have the budget for it, consider getting a cooling pad for your laptop. I got one for less than $10 (₹749), and it has helped minimize overheating to a great extent. Remember, when your PC’s temperature is under check, you enjoy a faster and smoother Windows experience!
10. Consult a professional
When nothing else works, the last option is to consult a professional, i.e., either the manufacturer’s support team or a local repair shop. Because, at this point, we can be certain that a malfunctioning hardware component is causing overheating on your Windows PC.
A professional has the necessary tools to check individual components for faults and rectify them. On the other hand, doing this on your own may damage the hardware.
What happens when a computer overheats for too long?
When the computer starts to overheat, initially, it throttles performance to reduce the system temperature. So, apps wouldn’t load or run as fast. If the temperature increases further, the PC will automatically shut down to prevent damage, sometimes with a BSOD (Blue Screen of Death) error code.
Most fail to realize the long-term implications of PC overheating. It affects the lifespan of hardware. For instance, overheating hard disks may develop bad sectors or suffer from data corruption. The CPU, GPU, and RAM will wear out faster. If you have a laptop, its battery life will drop, and prolonged exposure to high temperatures may result in battery swelling.
In extreme cases of overheating, the hardware components will start failing or even catch fire!
Although for bad sectors or other related drive issues, running the built-in CHKDSK (Check Disk) utility will help.
That’s all you need to know about overheating on a Windows PC. By now, it should be fixed or at least under control. Before you leave, discover top tips to speed up Google Chrome and enjoy seamless performance.
For any queries or to share what helped you minimize overheating, drop a comment below.

With over five years of experience in the tech industry, Kazim excels at simplifying complex topics, making them accessible to tech enthusiasts and general readers alike. He has contributed to several renowned publications worldwide, including WindowsReport and Allthings.how, bringing insightful coverage of key developments in the field.
Kazim has extensively covered the Windows ecosystem, from the early days of Windows 7 to Windows 11. Unlike many in the field, he’s optimistic about Windows 11, calling it the most user-oriented iteration to date.
When he’s not writing, you’ll find Kazim planning weekend getaways or diving into tech verticals beyond his expertise.